Thursday, 20 March 2014

Further Adventures in AGAL


I'll be honest, when I first saw AGAL some years ago, I just knew it was too obtuse and complicated for me. I was sure they'd make it easier in the next release, but 3 years later I'm still waiting.

Time to take the plunge. There's loads of great articles about AGAL and how to set it all up. It requires a ton of boiler plate AS3 code before you even get to the shader programming, but that part is at least just about identical every time so after a couple hours of wading through it line by line, you don't need to think about it any more.

I've made shaders in PixelBender, so the concept isn't entirely new to me, but in pixel bender you write a routine which is executed on each pixel. In AGAL you write a routine that is executed first on every vertex, and then on every pixel (or fragment) between them.

One of the really annoying things is the way you have to declare any variables you're going to use outside of the actual program. So you end up hopping around between shader code and AS3. The next hurdle is the actual names of the variables, as you don't get to name them yourself. vc0 for example is a vertex constant in register 0, but rather than assigning something to vc0 (vc0 = would have been nice!) you would write something like..

context3D.setProgramConstantsFromVector(Context3DProgramType.VERTEX, 4, sway, -1);

Believe it or not, that has assigned a vector ("sway") to vc0.
As they say in the Matrix, "after a while you don't even see the code". I wish!
With all the register indexes and two letter names it is very easy to make mistakes.

I'm not going to attempt to explain the mechanics, as it's been done to death and way better than I could.
I recommend starting with http://blog.norbz.net/tutorials/ and if you can get hold of this book, all the better.

And this is your Bible:
http://www.saltgames.com/2011/stage-3d-shader-cheatsheet/

That will get you up and running, but then what? There's simply tons of articles about shader programming out there, but precious few about AGAL specifically.
For a bit of inspiration I recommend a trip to shadertoy.com, but be warned, your browser will probably crash a few times, and your laptop will melt. These are GLSL shaders for WebGL, so while they may give some ideas it's far from obvious how to implement them in AGAL, and once you get past the basics of Stage3D there's not much help around.

An excellent free resource is the GPU Gems series, hosted at Nvidia.
This evening's experiment has been implementing this little ditty, animated grass.
http://http.developer.nvidia.com/GPUGems/gpugems_ch07.html
These books are great, as they explain the concepts, rather than the code.

One of the most beautiful sites you'll ever see in Denmark is a stiff sea breeze causing waves in a ripe field of barley. That was what I decided I'd try to emulate.


As I was working with an example that had different Blend modes, I left them in (After clicking on the window use "B" to switch). I also wanted to explore and understand the mip mapping modes, so you can go through all those by pressing SPACE. Oh, and to prove it's not baked, you can use your mouse to effect the grass too.

Frame rate varies wildly. There are exactly 65536 polygons in this example, all being animated independently in groups of 16 (i.e. a single blade of barley).
There are definitely more efficient ways, but it runs at 60fps on my laptop. I can see online its not quite so good. 
What kills performance here is not the shader, but the fact I'm reading in Perlin noise from a BitmapData animated in Flash for every cycle. I'm sure there's a better way, but it's late enough as it is...

Source


Saturday, 15 March 2014

MatCap in AGAL


Carrying on from the previous posts,  as an exercise in AGAL I've tried implementing MatCap with Normal map in pure AGAL, based on an excellent example by Norbz

Source including maps and FlashDevelop project

Thursday, 6 March 2014

MatCap with NormalMapping


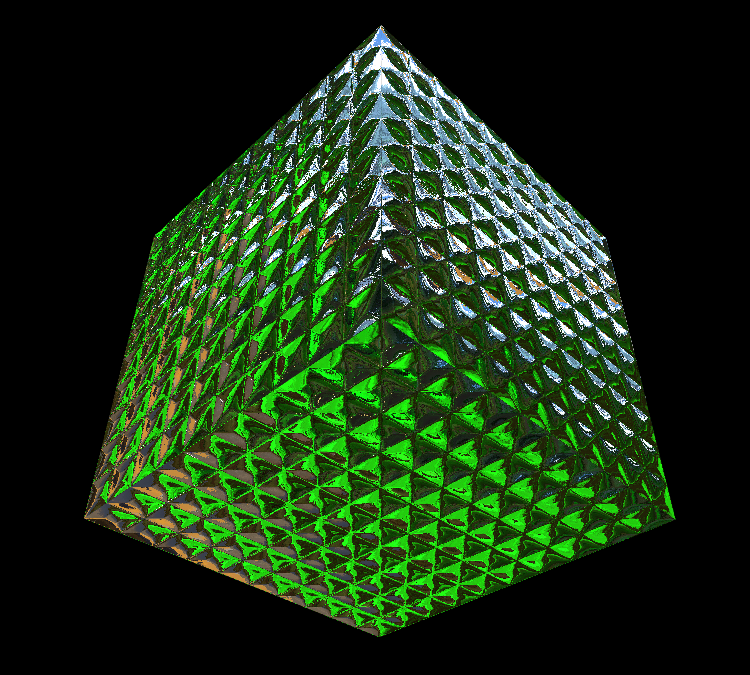
What do you get if you cross this:

With this...


No? Well a glass like complex material that doesn't require any lighting!


Continuing on from the previous post, I've now implemented normal maps into the MatCap material.
Took a lot of head scratching, and it could almost certainly make more use of the Away3D framework, but I ended making the MatcapPass a multitexture shader, and implemented my own normal map routine.

source files including demo usage.

The shader code

Enjoy!

Tuesday, 4 March 2014

MatCap Materials, and Smooth Soft Shadows for Away3D


Today I'm going to introduce a couple of techniques for improving realism, while reducing the load in real-time 3D scenes using Away3D 4.0.

You might be surprised to learn there are no lights in this scene whatsoever. Neither are the materials "baked" in any way. In fact this nice shiny plastic material can be applied to any object with mapping coordinates, though curvy, organic shapes work best.

It is known as a "MatCap" material, and was developed for Away3D by Przemek. (props!)
http://away3d.com/forum/viewthread/5255/

This type of material has long been available in Z-brush, among other packages.
The material consists of a single bitmap of a sphere and a shader that reads values from the bitmap and apply them to the object dependent on a faces angle to the view.

Here's the map used, plus a couple more examples.


You'll find more on MatCap, or Material Capture shaders all over the web. Here's a nice intro vid.

Here's the source, including the version of MatCapMaterial available at time of posting.

Apart from the actual material, take a look at the soft subtle shadow under the teapot. To get such a soft shadow I would normally render the scene using a raytracing renderer such as Mental Ray and attach it to a plane below the object, as it's just about impossible, and extremely processor intensive to do in real-time.

Currently I'm working with objects that are created in real-time, so rendering the shadow in MAX is simply not an option. To get around this I made a class called SuperSoftShadow (also provided in the source download, together with a FlashDevelop project file)


In the examples above and below the shadow is drawn dynamically when the scene initializes, and from then on uses no processor at all, it is a simple plane with the shadow TextureMaterial attached, and a BlendMode.MULTIPLY to blend it in with the background.

A couple of Gotchas there. The background here is an actual plane in the scene. If you try to use BlendMode.MULTIPLY on a background using the view3D.background, the whole screen turns black(!). Another thing I've discovered is the alpha value appears to be ignored when using blend modes.

What the SuperSoftShadow class does, is given an ObjectContainer3D such as a Loader3D, takes a snapshot using an Ortographic camera placed above, and then uses AS3's built in BlurFilter to soften it as much as you like. The resulting bitmapData is then applied to a texture on a plane, also created dynamically to match the size of the container.

Here's how to use it:

shadow = new SuperSoftShadow(container, this.stage, blur, size, yoffset, shadowColor, distance);

A look at the constructor describes the parameters.

container - The container to apply the dropshadow to. This can be a loader3D.

stage - Reference to stage required for creating stage3D instance.

blur - The blur amount for the shadow. Note that using larger bitmap sizes requires using large blur values.

size - The size of the bitmap to use. This can be any power of 2 dimension (512 x 512, 1024 x 1024, 2048 x 2048...etc.) The bigger the bitmap the better the quality.

yoffset - This is the y position within the container, which the shadow will be attached to. The class attempts to place the shadow directly underneath the container (minY) though this may not be the desired position.

shadowColor - A hexadecimal code for the colour of the shadow. This can be useful for radiosity effects for glowing objects, glass objects, etc.

distance - An optional value to control the cross-section of the object container to use. This controls the near plane of the camera that takes the snapshot. 

Another example using dynamic text...


(if you don't have the patience to watch it turn slowly, try the arrow keys :)
You can enter your own text to see the dynamic shadow in action. You can also adjust the extrusion depth of the text with up and down arrows, but you need to press ENTER to update the shadow, or the text.

The material for the text uses yet another technique, image based lighting, a bit more tricky, but worth the effort :)

Enjoy!